Need to place text and images precisely on SVG templates? Here’s a Python solution that handles it all. When building merch, labels, or print-on-demand apps, developers often find themselves manually adjusting design assets in vector editors—copying, pasting, and aligning elements by eye. It’s slow, error-prone, and doesn’t scale when you need hundreds of variants.
The Manual Way (And Why It Breaks)
Without automation, updating SVG templates means opening a vector editor like Inkscape or Illustrator, dragging and dropping assets, manually adjusting font sizes, and repositioning elements pixel by pixel. For each new design, a designer must re-do this process, often using spreadsheets or CSVs to track variations. Even then, keeping consistent spacing, alignment, or scaling across multiple products becomes a nightmare. API limits or batch export tools that don’t support custom placements are common bottlenecks. And if someone needs to generate variants in real-time, there’s no way around the manual work unless you’re willing to invest in a full design automation pipeline.
The Python Approach
Here’s a simplified version of how you might implement this logic in Python, working with a basic SVG structure:
from xml.etree.ElementTree import parse, Element, SubElement

# Load a basic SVG template
tree = parse('template.svg')
root = tree.getroot()

# Create a new text element
text_elem = Element('text')
text_elem.set('x', '100')
text_elem.set('y', '150')
text_elem.set('font-size', '24')
text_elem.text = 'Hello World'

# Add it to the SVG
root.append(text_elem)

# Add an image
image_elem = Element('image')
image_elem.set('x', '50')
image_elem.set('y', '50')
image_elem.set('width', '200')
image_elem.set('height', '200')
image_elem.set('href', 'logo.png')

root.append(image_elem)

# Save the result
tree.write('output.svg', encoding='utf-8', xml_declaration=True)
This code builds the SVG structure manually, sets positions and attributes for text and image elements, and writes a new file. It works for simple cases but lacks error handling, scaling logic, or support for grouped layers. You’d quickly hit problems like namespace issues, incorrect image paths, or misaligned elements at scale.
What the Full Tool Handles
Unlike writing your own SVG manipulation logic:
- Handles SVG namespaces and element formatting cleanly
- Validates image and text input, preventing crashes
- Supports multiple image formats (PNG, JPG, SVG) and proper scaling
- Provides easy layer management for ordering design elements
- Includes CLI and batch-processing capabilities
- Produces minified, clean SVG exports without editor metadata
Running It
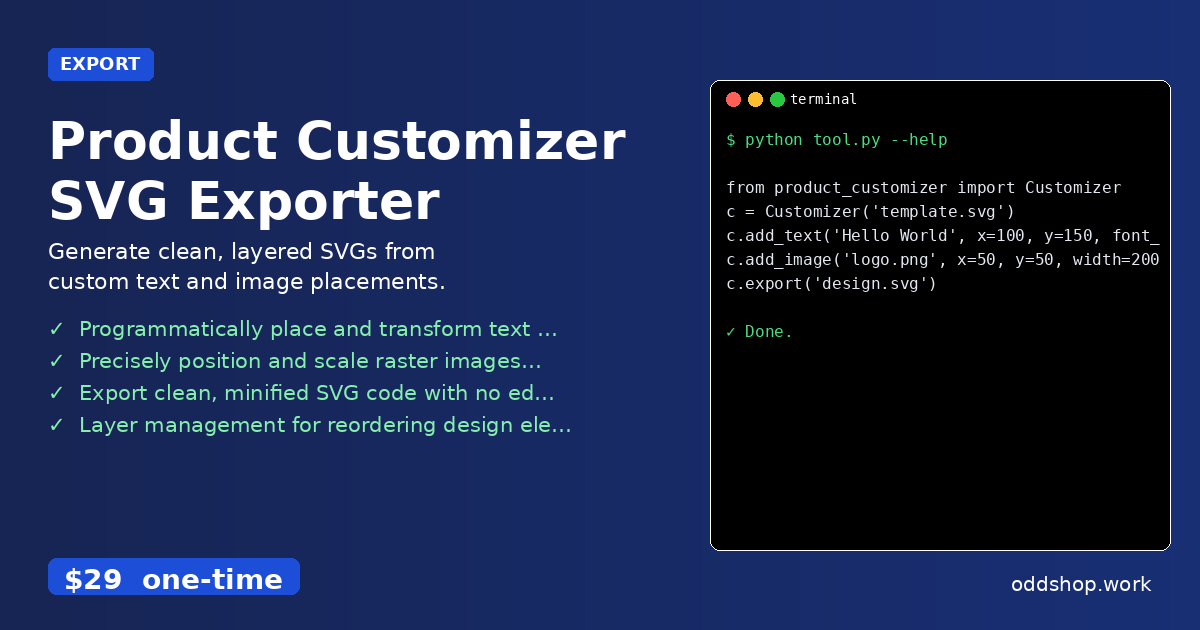
Using the product_customizer library makes it simple:
from product_customizer import Customizer

c = Customizer('template.svg')
c.add_text('Hello World', x=100, y=150, font_size=24)
c.add_image('logo.png', x=50, y=50, width=200)
c.export('design.svg')
This quickly places the text and image with proper positioning, scaling, and output formatting. It supports many parameters like fill, font_family, opacity, and rotation for both text and images.
Results
This approach saves hours of manual work and delivers production-ready SVGs. Instead of manually placing elements, developers can automate entire workflows, from batch generating hundreds of variants to dynamically updating labels from a backend.
Get the Script
If you want to skip building and testing this logic yourself, try the full tool. At just $29, it’s a one-time purchase that works across Windows, Mac, and Linux.
Download Product Customizer SVG Exporter →
$29 one-time. No subscription. Works on Windows, Mac, and Linux.
Built by OddShop — Python automation tools for developers and businesses.